
Last updated November 14, 2026
 Architectural shingles
 Metal roofing
 Tile roofing
 GAF
 Owens Corning
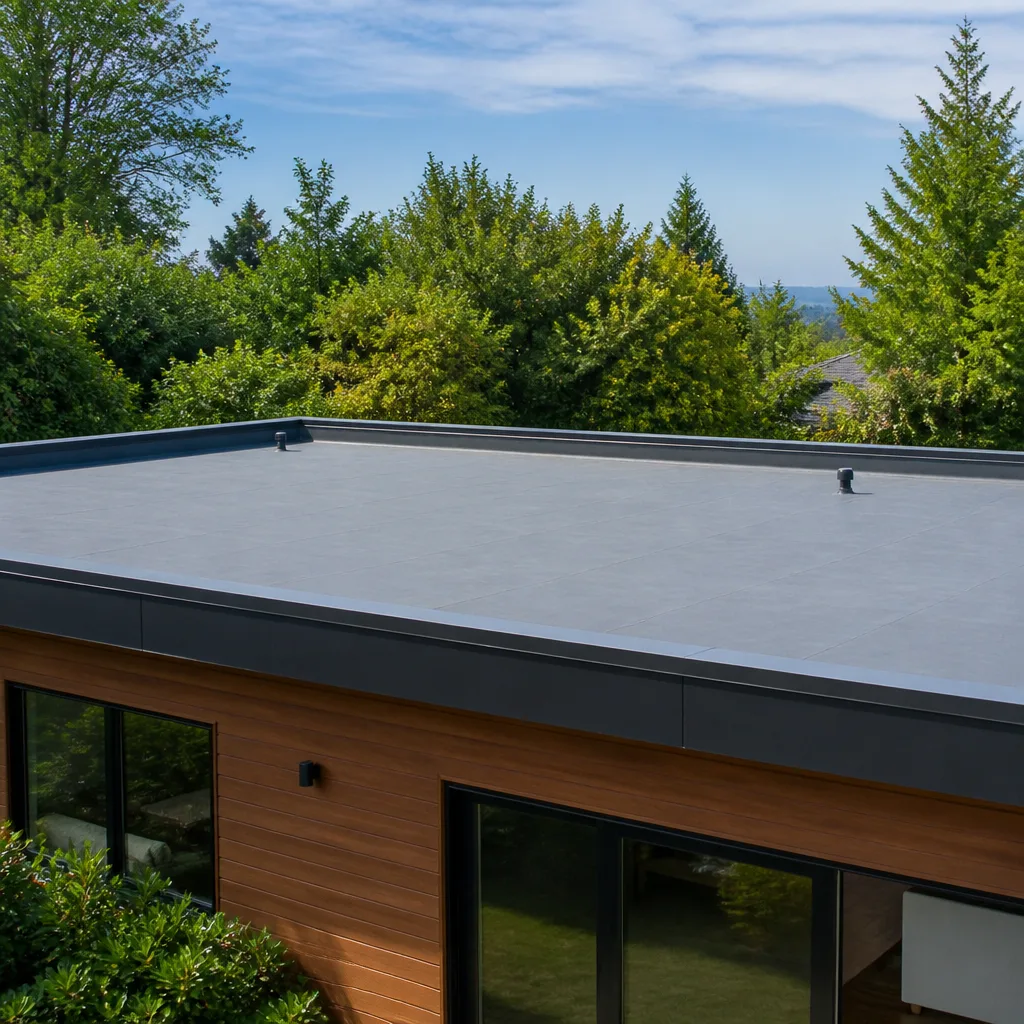 Flat & low-slope
Free roof inspection with deck photos before we talk money - GAF and Owens Corning certified installation
Roof Repair Troubleshooting in Buffalo: Common Problems and How to Fix Them
That brown ceiling stain directly below your attic? The leak creating it is almost certainly entering your roof at least three feet away from where you’re looking, and sometimes on the opposite side of the ridge. Water travels. It runs along roof decking, follows rafters, drips onto insulation, and finally shows up where gravity lets it pool. Most Buffalo homeowners see a symptom and assume they know the problem. This guide will teach you to trace damage backward from what you can see to what’s actually failing, so you can describe the issue accurately to any contractor who comes to look.
Styles & brands we work with
- Architectural shingles
- Metal roofing
- Tile roofing
- GAF
- Owens Corning
- Flat & low-slope
Quick Answer
Roof repair troubleshooting in Buffalo means starting with the symptom you see, then tracing water or damage back to its actual entry point, which is rarely where the stain appears. The most common Buffalo failure patterns include ice dams at the eaves, wind-lifted shingle tabs, failed valley flashing, and condensation from inadequate attic insulation. Document what you can from the ground and attic, avoid temporary patches that mask the real problem, and call a roof repair contractor who will inspect before quoting.
Table of Contents
- Symptom-to-Source Mapping: What You See vs. What’s Actually Wrong
- Buffalo’s Four Most Common Roof Failure Patterns
- How to Document Roof Damage Safely
- Active Leaks vs. Old Water Damage
- DIY Misdiagnoses That Make the Problem Worse
- The Homeowner Checklist for Accurate Contractor Communication
- Common Mistakes to Avoid
- When to Call a Professional
- Frequently Asked Questions
- The Bottom Line
Symptom-to-Source Mapping: What You See vs. What’s Actually Wrong
Every roof problem announces itself, but rarely at the scene of the failure. Water follows the path of least resistance, and in a Buffalo attic that path can be long, angled, and counterintuitive. A stain on a bedroom ceiling might trace back to a nail pop six feet up the roof plane. A damp patch near an exterior wall might be condensation from a bathroom vent that terminates in the attic instead of outside. Peeling paint on a fascia board might be wind-driven rain entering through a lifted shingle above it.
Here’s how the most common visible symptoms map to their typical true sources:
- Brown ceiling stain in a top-floor room: Usually a roof leak, but the entry point can be several feet away. Check the attic directly above the stain first, then follow any wet insulation or stained decking upward to the roof plane.
- Water staining near an exterior wall: Often condensation or an ice dam backing water under the shingles at the eaves. It can also be failed step flashing where the roof meets a wall.
- Damp insulation in the attic: Either an active roof leak or a ventilation problem. Condensation forms when warm, moist indoor air reaches cold roof decking.
- Granules collecting in gutters: Shingle wear. Some granule loss is normal after years of Buffalo winters. Heavy accumulation signals aging shingles nearing the end of their useful life.
- Curled or cupped shingle edges: Age, heat cycling, or poor attic ventilation. Shingles curl when they dry out and the asphalt loses flexibility.
- Stains around a chimney: Failed chimney flashing. The metal that wraps the chimney base eventually separates from the brick and allows water to run down the flue chase.
In our experience, the single most valuable step a Buffalo homeowner can take is to get into the attic with a flashlight during daylight hours. Turn off the light, look up, and you’ll often spot actual pinholes of daylight where water also gets in. If you can see light, you’ve found the hole.
Why Buffalo Makes This Harder
Buffalo’s weather doesn’t allow for gradual roof problems. A roof that leaks slightly in a rainy climate leaks in Buffalo, but it also gets hammered by freeze-thaw cycles that widen cracks, ice dams that push water under shingles, and lake-effect snow that sits on rooflines for months. The symptom might be the same as a roof in a milder climate. The mechanism behind it is often different, which changes the repair approach.
Buffalo’s Four Most Common Roof Failure Patterns
Roofs in Western New York fail in predictable ways. Not because they’re badly built, but because the climate stresses specific components harder than others. Here are the four failure patterns we see most often in Buffalo.
1. Ice Dams at the Eaves
An ice dam forms when heat escapes from the attic and melts the bottom layer of snow on the roof. The meltwater runs down to the cold eave edge, refreezes, and builds a ridge of ice. Water then backs up behind that ridge and pushes under the shingles. The damage appears as interior staining near exterior walls, or as paint failure on the first inch of ceiling at the wall line.
The fix is rarely just removing the ice. That’s a symptom response. The cure involves improving attic insulation and ventilation so the roof deck stays cold and the snow stays frozen until it can melt uniformly. If shingles have already been damaged by repeated ice dam cycles, replacement of the affected field is usually required.
2. Wind-Lifted Shingle Tabs
Winter winds crossing Lake Erie hit Buffalo rooflines with sustained force. Shingles with weakened adhesive strips lose their grip and lift. Once a tab lifts, the next strong gust folds it over or tears it off. You’ll see this as shingles with one corner angled upward, or dark gaps where shingles used to be.
Wind-lifted tabs are often repairable early. The damaged shingle can be replaced, and nearby shingles can be checked for adhesion. If the roof is older and adhesive failure is widespread, partial repair becomes a game of whack-a-mole. That’s when an inspection matters. A repair makes sense when the failing area is small and isolated. A full roof replacement makes sense when adhesive failure is scattered across multiple slopes.
3. Failed Valley Flashing
Valleys carry more water than any other part of a Buffalo roof. When valley flashing fails, water doesn’t drip, it pours into the attic. The symptom is almost always a stain or wet spot in a room that sits below and to the side of the valley line. The flashing itself may be corroded, torn, or slipped out of position.
Repairing valley flashing means removing the shingles that overlap it, replacing or re-securing the metal, and reinstalling the shingles in proper sequence. It’s not a one-tube-of-caulk job. Water has been running through that valley by the gallon, and anything less than a proper flashing reset will fail again when the next thaw cycle hits.
4. Condensation Damage from Inadequate Attic Insulation
Not every roof problem is a roof leak. Buffalo homes built before modern insulation standards often have insufficient attic coverage. Warm indoor air seeps through ceiling penetrations, meets cold roof decking, and condenses. The moisture drips onto insulation, ceilings, and stored items. The symptom looks like a roof leak. The cause is thermal.
The giveaway is usually location and pattern. Condensation damage is diffuse. It appears across a broad area rather than along a single path. It’s also worst during high-humidity periods, like when a full house cooks, showers, and runs a humidifier through a cold snap. The fix is air sealing and insulation, not shingle work. A qualified inspector can tell the difference quickly.
How to Document Roof Damage Safely
Before any contractor arrives, good documentation saves diagnostic time and prevents miscommunication. Here’s a safe, step-by-step process any Buffalo homeowner can follow without climbing onto a roof.
- Start at ground level. Walk the entire perimeter of the house with your phone camera. Photograph each slope. Note any missing, curled, lifted, or displaced shingles you can see. Wide shots first, then close-ups of anything suspect.
- Check the gutters. Look for granule accumulation at downspouts and gutter joints. Photograph color differences where particles have collected. Granule loss is a sign of shingle wear.
- Move to the interior. Photograph every stain, crack, or paint bubble you’ve noticed. Include a wide shot showing the location in the room, then a close-up of the damage. This helps the contractor correlate ceiling stains with roof slope positions.
- Enter the attic. Bring a flashlight and a camera. Do not walk on joists you cannot see clearly. Document wet insulation, stained decking, visible daylight at roof joints, frost on nails, and any mold-like discoloration on wood.
- Note the weather context. Write down when you first noticed each symptom. Was it during a thaw? After a heavy rain? During a cold snap with interior humidifier use? The timing is a diagnostic clue.
- Store everything in one folder. Date-stamp your photos and keep them together. When the contractor arrives, you hand over a complete picture rather than trying to remember which shingle tab you meant.
One caution: do not use a ladder to access your eaves or roofline unless you are comfortable and the ladder is stable on level ground. Wet leaves, frozen turf, and slanted driveways make Buffalo ladder work dangerous. Ground-level documentation is enough for a first visit. The contractor will handle everything above that.
Active Leaks vs. Old Water Damage
Not every water stain means you have a current leak. Buffalo homes accumulate history. A stain from a repaired leak years ago can persist for the life of the ceiling, looking exactly like an active problem. Before you schedule an emergency repair, do a simple check.
Active leaks leave water behind. Touch the stain with a dry paper towel. If it’s damp, it’s active. If it’s dry and flaky, it may be old. Next, look at the shape. Active leak stains grow over time. Old stains stay the same size. If you’ve lived in the house through two full winters and the stain hasn’t changed, there’s a good chance the leak that created it was fixed before or during your ownership.
The most reliable test is to wait through a heavy rain or snowmelt and check whether the stain changes. If a dry stain stays dry after a full Buffalo storm cycle, it’s almost certainly historical. If it darkens, spreads, or feels damp, you have an active leak that needs tracing.
We’ve met homeowners who assumed a decades-old stain was an active leak and paid for a roof repair that never solved anything, because the original leak had been fixed years before. An inspection that distinguishes history from current damage prevents that. That’s why we look before we quote. The diagnosis matters more than the dollar figure.
DIY Misdiagnoses That Make the Problem Worse
Some repairs make sense for a homeowner to handle. Most roof work doesn’t. But beyond the safety risk, the bigger problem with DIY roofing is misdiagnosis. You can apply the wrong material to the wrong spot and make the eventual professional repair more expensive. Here are three common misdiagnoses we see in Buffalo.
Caulking Over Flashing Gaps
A bead of caulk along a flashing seam might stop water for one season. Then the freeze hits. Flashing expands and contracts at a different rate than caulk. The caulk cracks, water gets behind it, and now the joint is sealed with cured caulk that makes proper repair harder. Flashing needs to be reset mechanically, not gooped over.
Applying Roof Cement to Shingles
Roof cement is sometimes used in limited areas, but globbing it onto shingles to seal a leak is a temporary measure that quickly fails. It also creates a high spot that catches water or snow sliding down the slope. Once applied, it’s difficult to remove without damaging the shingle beneath. The underlying problem, whether it’s a nail pop, a torn underlayment, or an improperly flashed penetration, remains untouched.
Patching from Inside the Attic
It’s tempting to staple a plastic sheet or screw a board over a wet attic spot. The leak hasn’t been addressed. The water is still entering the roof assembly and now water is being trapped against the underside of the decking, accelerating rot and mold growth. A proper repair stops water at the roof surface, where it enters, not at the attic, where it exits.
Manufacturers like IKO and Atlas publish specific installation requirements for their shingles. Repairs that don’t follow those specs may void remaining warranty coverage. When a homeowner uses whatever caulk or cement is in the garage, they may unknowingly cancel coverage they’d otherwise have.
The Homeowner Checklist for Accurate Contractor Communication
The more precise information you can give a roofing contractor before the first visit, the better use of everyone’s time. Here’s a checklist Buffalo homeowners can use to give us or any roofer a clear, diagnostic picture in under five minutes.
- Describe the symptom exactly. Where is the stain? What shape is it? When did you first see it?
- List the dates of the last three significant weather events. Did the symptom change after any of them?
- Specify the roof age if known. Approximate works. Was the roof original to the house, or was it replaced during your ownership?
- Mention any prior repairs. Even if a previous owner had them done. Contractors can sometimes spot previous patch work and avoid re-opening it.
- Note attic insulation changes. Did you add insulation recently? Did you install a new bathroom or kitchen vent?
- List your warranty paperwork. If you have original installation documents, pull them out. The installer’s name and shingle brand, such as Tamko or Boral, can guide repair specifications.
- Take photos and keep them ready. Sharing the folder you created earlier lets the contractor see the damage before they even ring the doorbell.
This may seem like a lot, but it takes minutes to gather. The result is a contractor who arrives already informed, with a better idea of what to look at first. That reduces diagnostic time and the back-and-forth that slows down an accurate quote.
Common Mistakes to Avoid
- Ignoring a small stain because it hasn’t grown in two years. It may be inactive now, but a dry stain above a bedroom is a ghost of a past failure. The underlying weak point that caused it may still be present, waiting for the next heavy thaw.
- Calling a roofer and skipping the inspection step. Some contractors will quote a replacement over the phone without any inspection. A proper repair or replacement assessment starts with eyes on the roof, not a verbal description from a worried homeowner.
- Assuming a roof leak automatically means a full replacement. Often it doesn’t. A single failed valley or a few wind-lifted tabs can be repaired. Inspection confirms which path is right, and a reputable contractor will tell you repair when repair is right.
- Caulking a leak from the underside. As noted, interior patches trap moisture. They push a small problem deeper into the structure.
- Trusting a ground-level view as a full assessment. Most roof damage is invisible from the ground. Lifted tabs, failed flashing, and cracked seals all hide above the sightline. An attic inspection is the minimum, and an on-roof inspection reveals what the ground cannot.
- Not asking which shingle brands a contractor can install. Single-brand contractors can only offer what they carry. Working with a contractor who has access to multiple manufacturers, including Boral and IKO options, means the material recommendation is driven by your roof’s needs and your budget, not by a distribution agreement.
When to Call a Professional
You should call a professional when you’ve traced a symptom to its likely source and the fix requires roof surface work. That includes lifted or missing shingles, failed flashing, valleys that leak, and any area where you suspect structural deterioration. You should also call when condensation damage suggests an insulation or ventilation problem that’s beyond a simple fix. And you should call when you’re not certain whether the stain is active or historical. A trained eye settles that question in one visit.
Most of the troubleshooting described in this guide is work you can do from the ground, from the attic, or from inside your home. Anything above that belongs to someone with proper safety equipment and roofing knowledge. Tidewater Roof Repair offers free estimates in Buffalo. Call (866) 389-4577 and we’ll inspect before we quote, so you know what you’re actually dealing with.
Frequently Asked Questions
Touch the stain with a dry paper towel and check whether it’s damp. Then wait through a heavy rain or snowmelt and check whether the stain grows or darkens. A dry stain that stays unchanged through a storm cycle is likely historical. A stain that spreads or feels damp means water is still entering. Call (866) 389-4577 and we can inspect the attic and roof surface to confirm which one you have.
Ice dams can be permanently addressed by improving attic insulation and ventilation so the roof deck stays cold enough to keep snow frozen until it melts uniformly. His is a thermal fix, not a shingle fix. Short-term removal keeps water out of the house for one season, but the underlying heat loss will recreate the dam every winter until the attic is corrected. An inspection will identify where heat is escaping.
Water can travel ten feet or more from the actual roof penetration before showing up on a ceiling. It follows roof decking, rafters, and insulation layers. That’s why ceiling stains near exterior walls often trace back to entry points higher up the slope or on the opposite side of a ridge. The stain is an exit point, not the entry point.
No. Interior patching traps water inside the roof assembly, even if it stops the drip. The water is still entering and now it’s being held against the wood decking, which accelerates rot and mold. The proper repair stops water at the roof surface where it enters. Anything else is temporary and damaging.
No, it can also indicate condensation from inadequate attic insulation, especially in Buffalo homes built before modern energy codes. Condensation damage tends to be diffuse rather than following a single path, and it’s worse when the house is humid. A professional inspection can tell the difference between a roof leak and a thermal moisture problem in a single attic visit.
Use the homeowner checklist above: describe the symptom, note when it appeared, list the last three major weather events and how the symptom responded to them, mention roof age and any previous repairs, and have photos ready. That gives a contractor a complete diagnostic picture before the first visit. Call (866) 389-4577 if you’re ready to schedule an inspection.
The Bottom Line
Roof troubleshooting in Buffalo is about tracing symptoms to sources, not guessing from a stain. Ice dams, wind-lifted shingles, failed valley flashing, and condensation each leave different footprints, and each requires a different fix. Document what you can see from safe positions. Distinguish active leaks from historical stains. Skip the caulk and roof cement, which usually make the underlying problem worse and harder to repair. When you’ve done your homework, hand it to a contractor who inspects before quoting. That’s how you get the right repair at the right scope, instead of a sales pitch for work your roof doesn’t need.
Written by the team at Tidewater Roof Repair, serving Buffalo since 2011.
See the difference
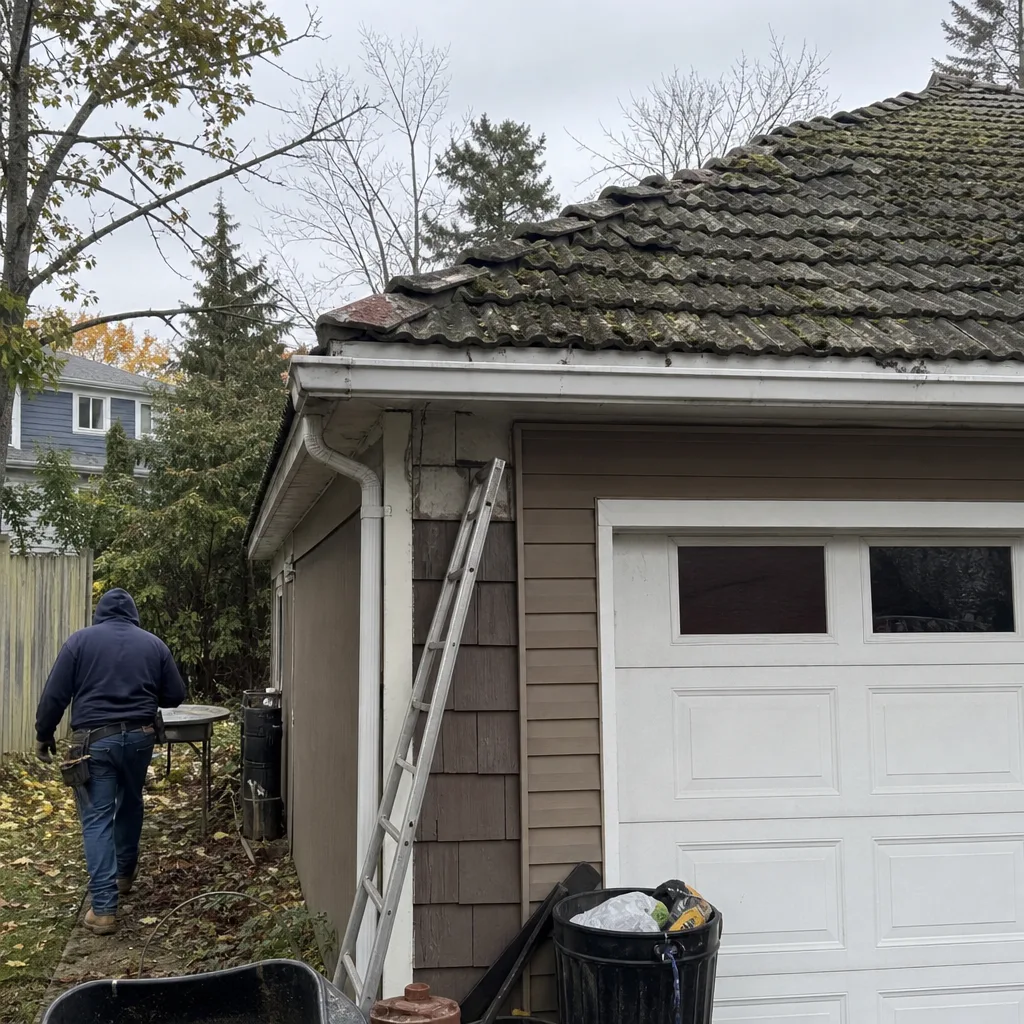 Before
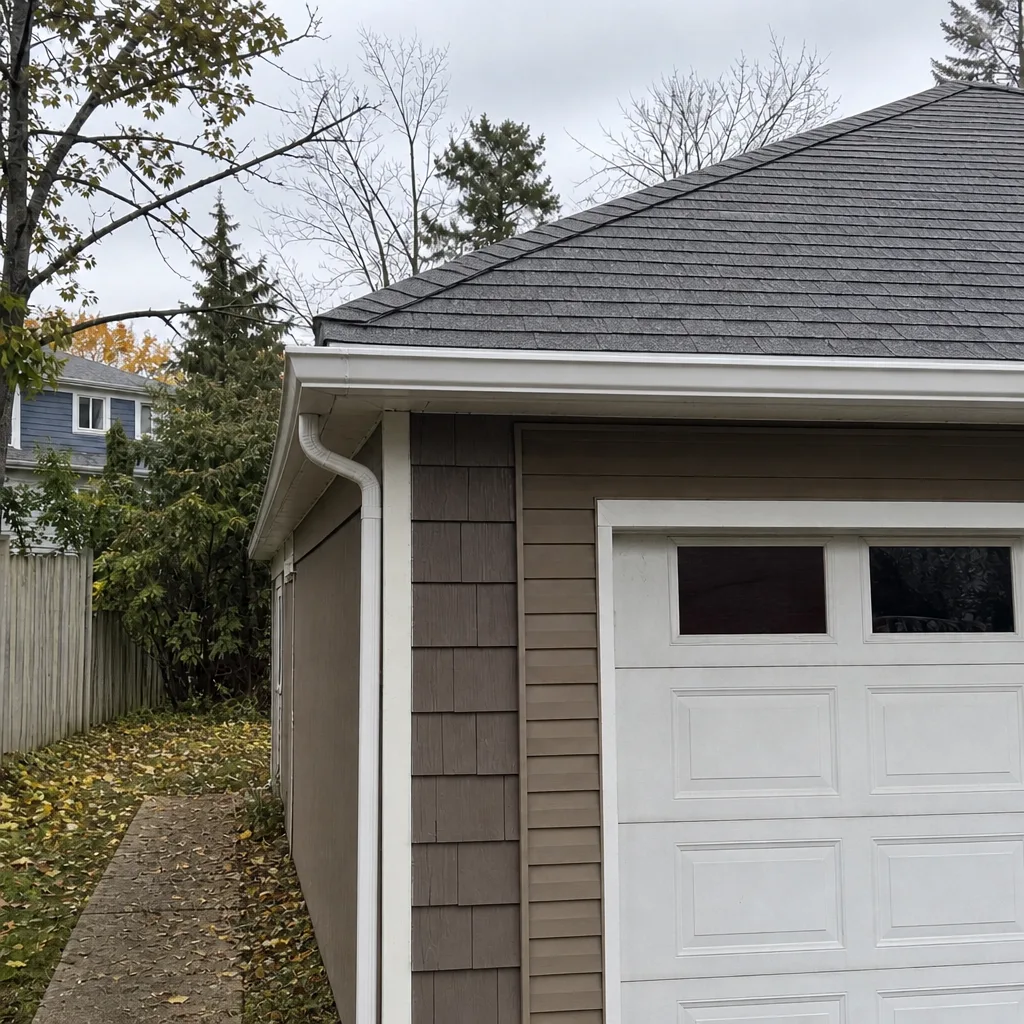 After
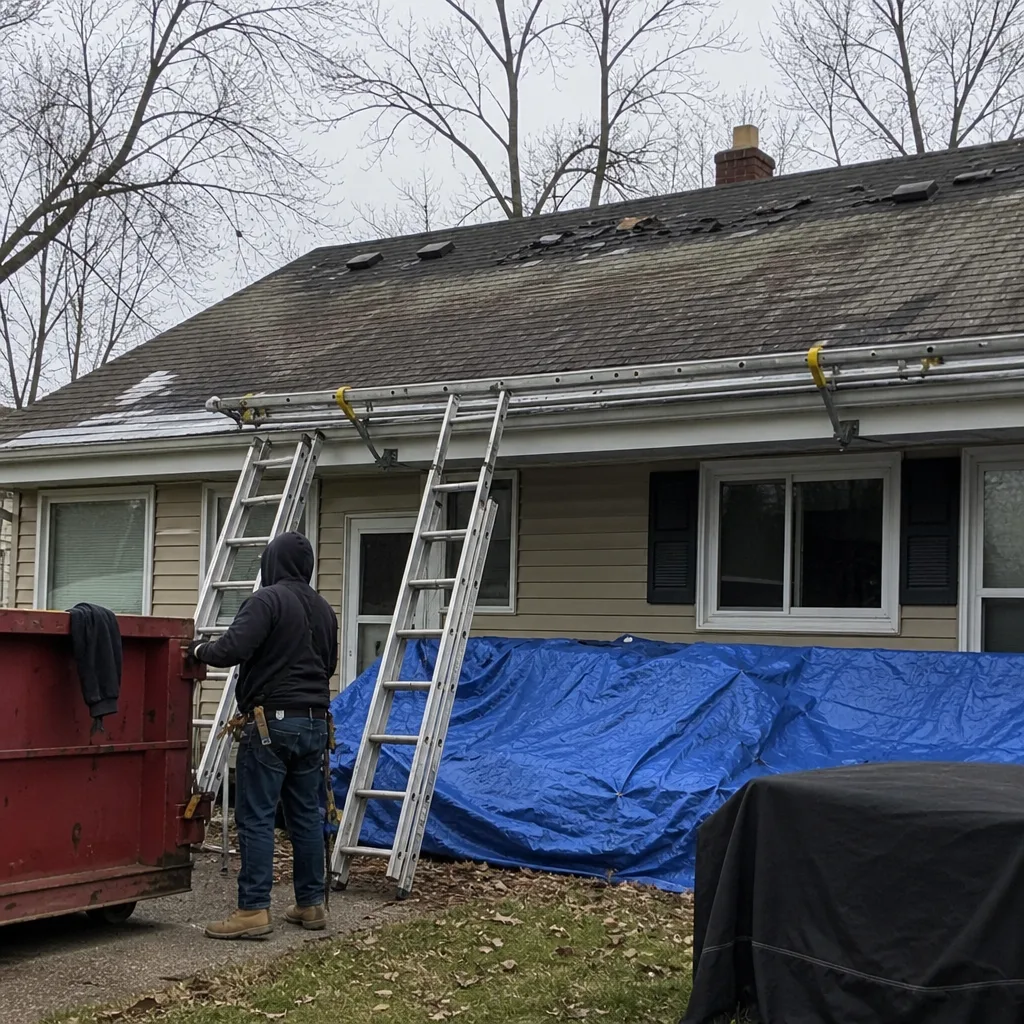 Before
 After
 Before
 After